 button to list all students with status in the course:
Use the Administrator Set Student Course Status screen to set the course status for students. You might do this due to account for offline content or to adapt to error conditions where status or other data was not set correctly.
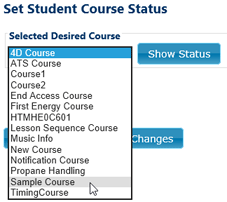
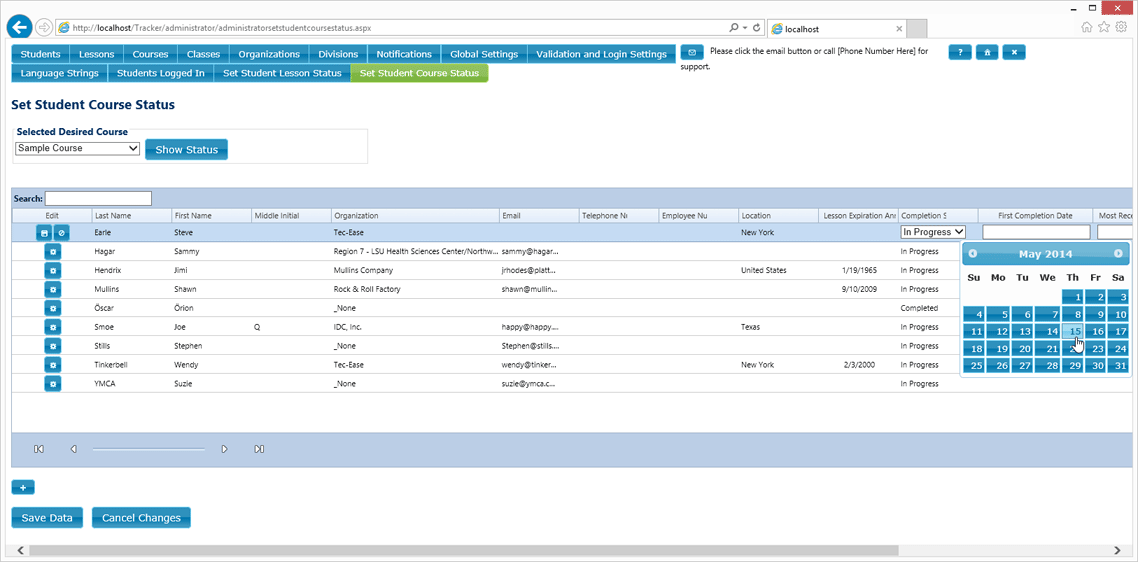
The first step is to select a course from the list and then click the  button to list all students with status in the course:

To add a student, select the Add Student button from beneath the main grid:

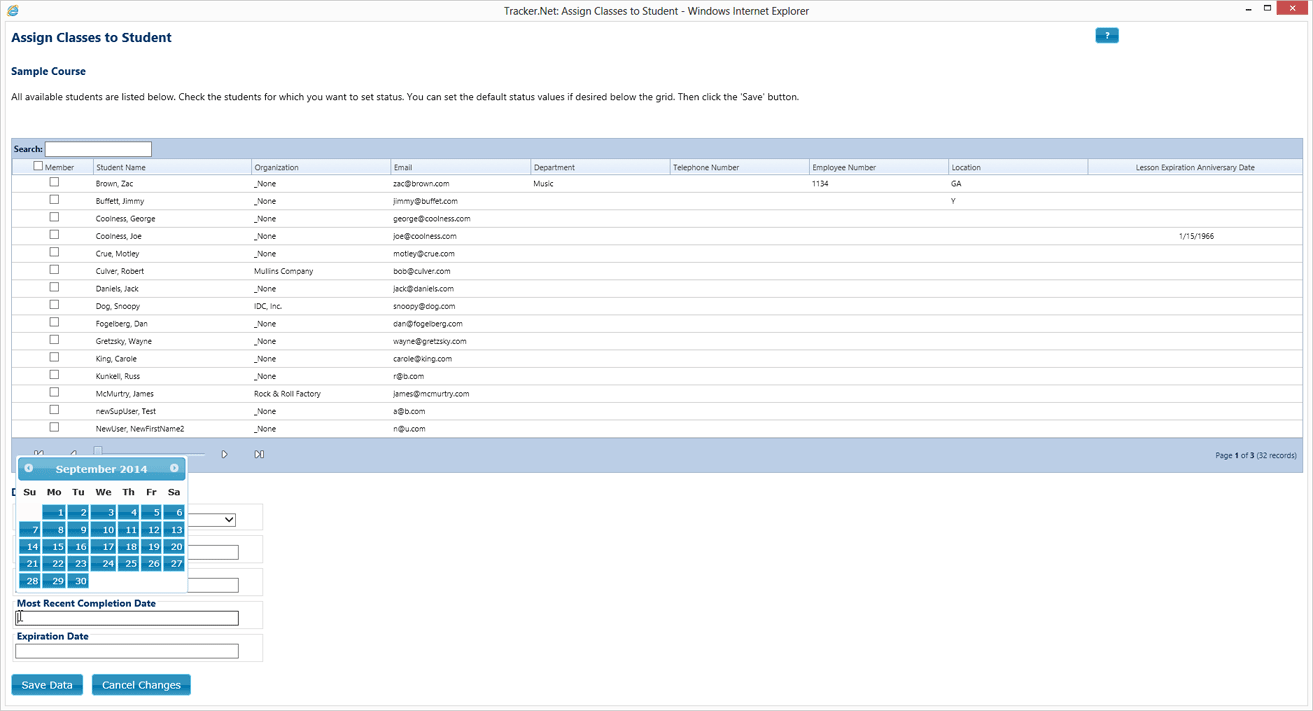
This will give you a display list of available students (those who do not already have a status for the selected course).

Select one or more students you wish to add. You can check or uncheck all the students shown at once by checking or unchecking the "Member" box at the top of the grid.
If desired, you can set default values of Completion Status, Cumulative Course Time (HH:MM:SS.S format), First Completion Date, Most Recent Completion Date, and/or Expiration Date.
When you are ready, click the Save Data button. All of the students you selected will be added to the Set Student Course Status screen with their default values.
To edit a student's status for the current course, click the edit button ( ) in the row for that course. See Editing Administrator Grid Rows for additional details.
After making any changes, you must either Save Data or Cancel Changes before you can go to another Administrator screen.
You can click on a column heading to sort by that column. Searching for content depends on the how searching/filtering is configured. See Searching Administrator Grids for more details.
If the grid has multiple "pages" of data, use the paging controls shown below to just to the first, previous, next, or last page of data.

The number of items per page is controlled by the Default Grid Size on the "Default Settings" tab of the Global Settings screen.
To access the Administrator Set Student Course Status screen, click the 'Set Student Course Status' button on the Administrator toolbar:


The same student information is shown as for the Administrator Students screen and other screens. The completion status data you can edit is described below.
| Column Name | Explanation |
|---|---|
| Completion Status | You can set the completion status to Not Started, In Progress, or Completed. If you want the status to show up as Alert, Critical, or Expired, set the status to completed and then set the Expiration Date to be either in the past (making the course expired) or within the number of days from the current date to make it Critical or Alert [based on the settings for Lessons in that course set on the Lessons screen]. |
| Cumulative Time | This is the cumulative time in the course in HH:MM:SS.S format. For example, if the student has spent 10 hours, 12 minutes, and 44 seconds, in the course, you would enter 10:44:44.0. |
| Expiration Date | This is the date that the course expires. It is only relevant if the Completion Status is Completed. If so, Tracker.Net compares this date to the current date to determine if the actual status is Alert (within, say, 90 days of the Expiration Date), Critical (within, say, 30 days of the Expiration Date), or Expired (past the Expiration Date). You can click in the entry box to bring up a calendar for setting this date. |
| First Completion Date | This is the date that the student first completed the course. It is used on certificates unless the Use Most Recent Completion Date for Certificates setting is True on the Global Settings screen. You can click in the entry box to bring up a calendar for setting this date. |
| Most Recent Completion Date | This is the most recent date that the student completed the course. It is only used on certificates when the Use Most Recent Completion Date for Certificates setting is True on the Global Settings screen. You can click in the entry box to bring up a calendar for setting this date. |
This screen is available to Administrators with 'Supervisor Only' or 'All Levels (Basic)' access.